Agile methods are groups of practices of piloting and realization of projects.
They originate from the Agile Manifesto, written in 2001, which uses the term “agile” to refer to multiple existing methods.
Agile methods are more pragmatic than traditional methods, involve the client as much as possible and allow a great reactivity to his requests. They are based on an iterative, incremental and adaptive development cycle and must respect four fundamental values, based on twelve principles, from which a base of practices, either common or complementary, derives.
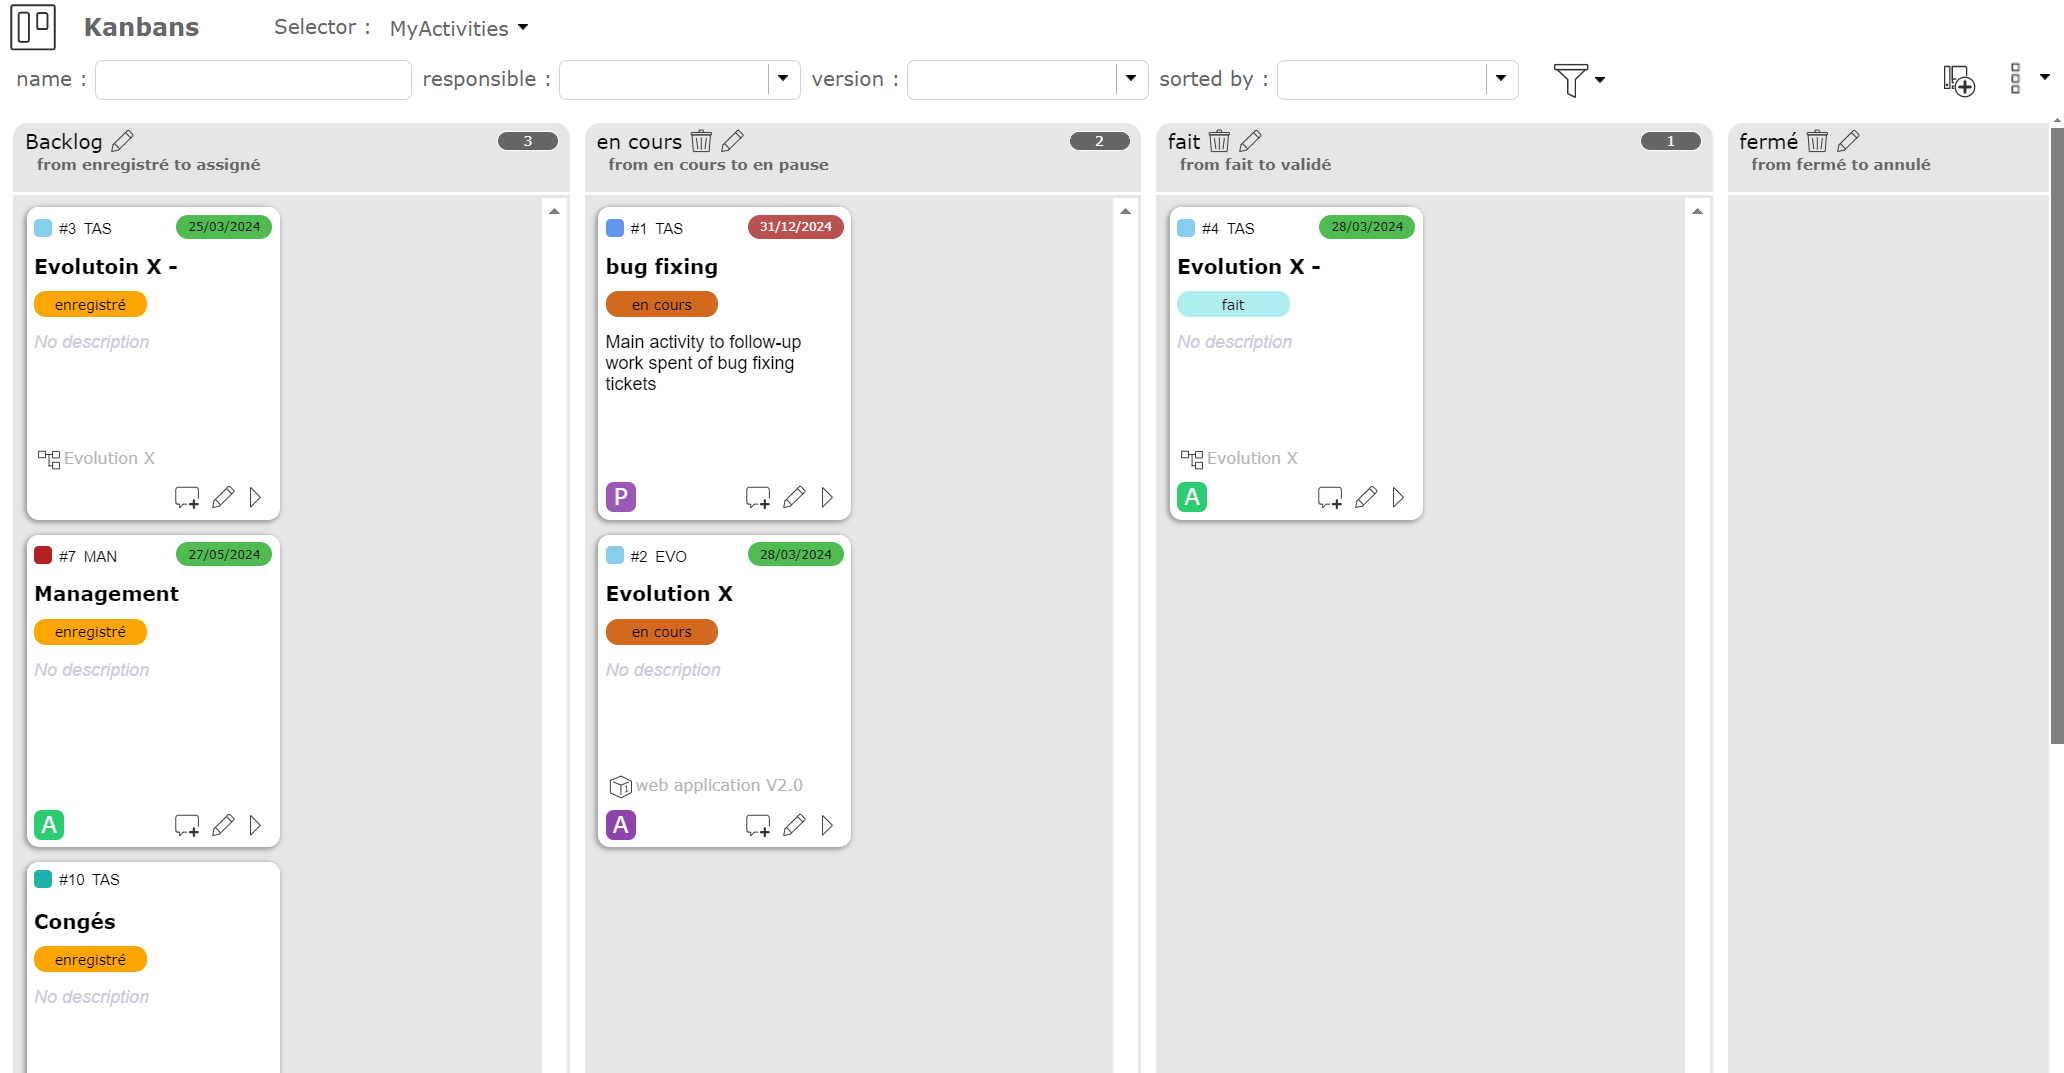
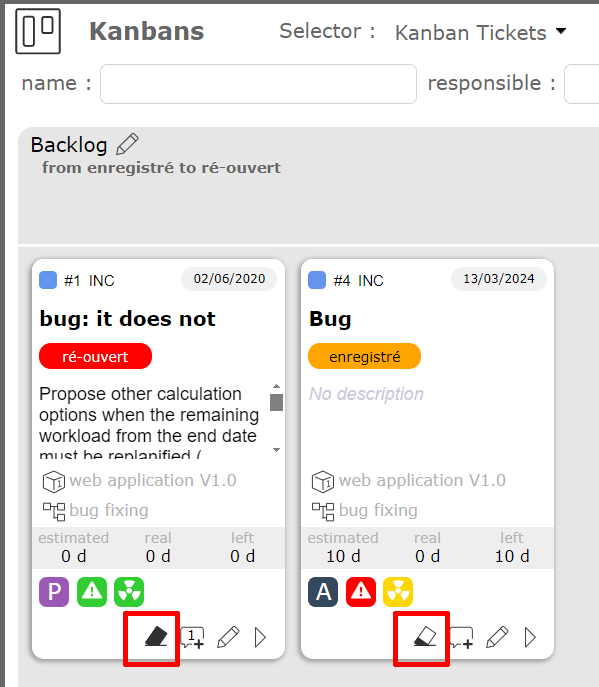
The backlog column of your kanban is hidden by default. It defines the initial state of your tiles in your kanban. The backlog is the list of pending tasks: these are all the ideas, requests, or work that need to be done but have not yet been planned or started.
and for the personaliszation of the tiles:
Status
Product version
Planning/Parent activity
Manager
Priority
Urgency
Planned end date
Type
Color by Project / Priority / Urgency
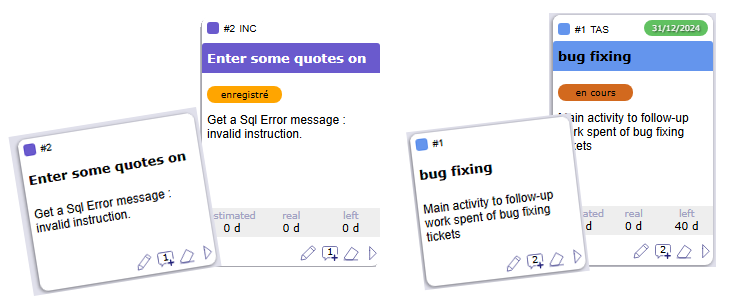
difference between tickets tile and Activity without display options and with all options
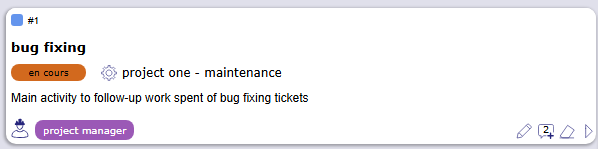
All these options allow you to have simple tiles or tiles offering maximum information.
The estimated work, actual work, and work remaining information on the selected item can be displayed.
If your profile is not allowed to see the job, you will not have access to this option.
The format for displaying the job (days or hours) depends on the global parameter.
unit for real work allocation for Tickets
unit for workload for Activities
Show idle elements allows you to display or not inactive elements (closed, canceled, paused, etc.)
By default, Kanban board columns display two tiles side by side. By displaying the tiles in wide mode, each tile takes the maximum width of the column and allows to display much more information.
Tip
When you create a kanban, you do not yet have columns representing a state, a set of states or even versions.
The tiles then appear in a Backlog column. You have the option to display or hide this column.
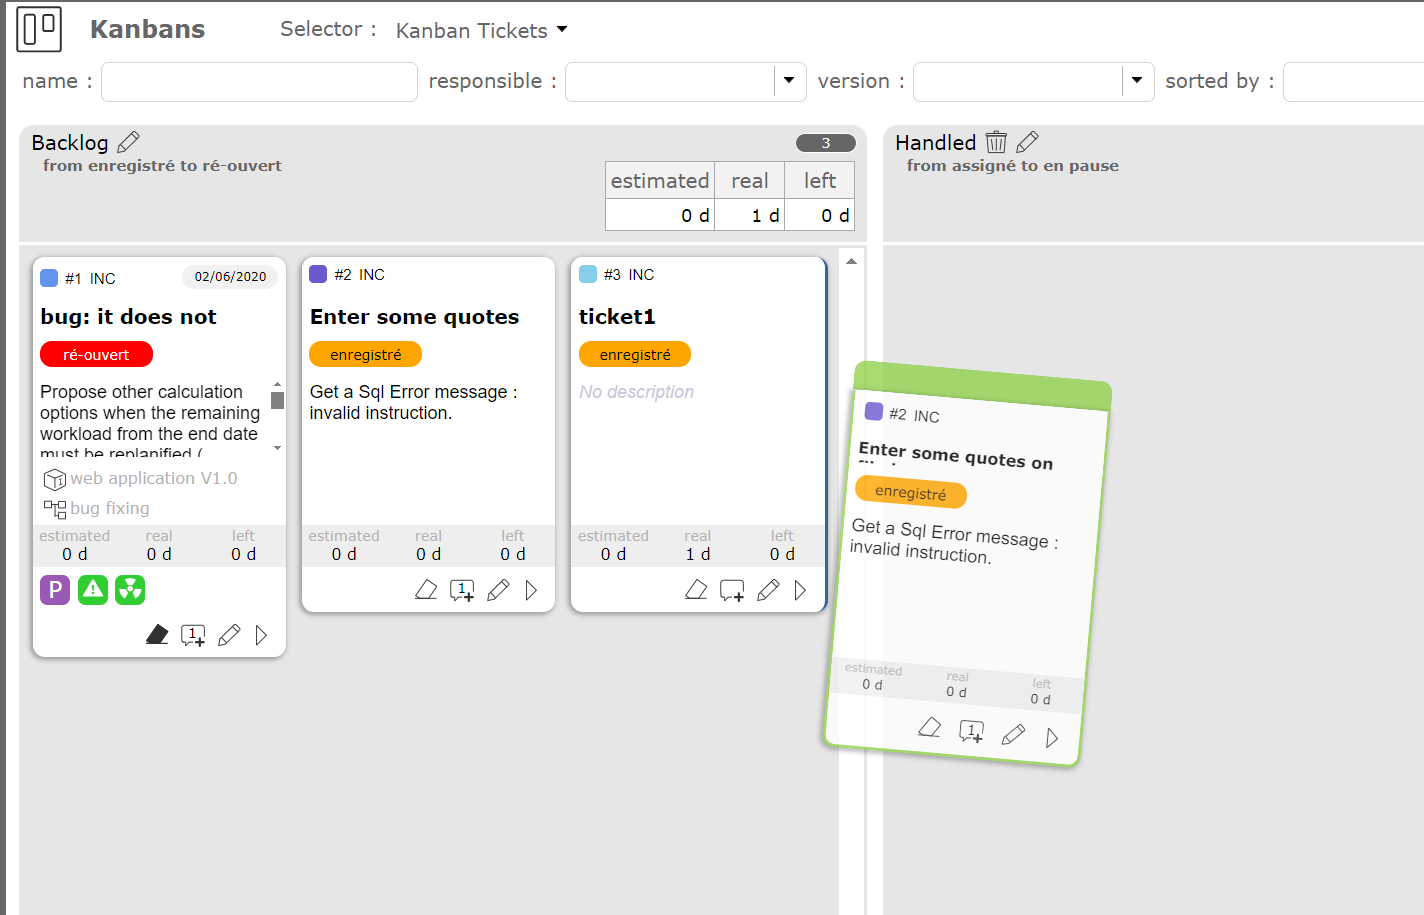
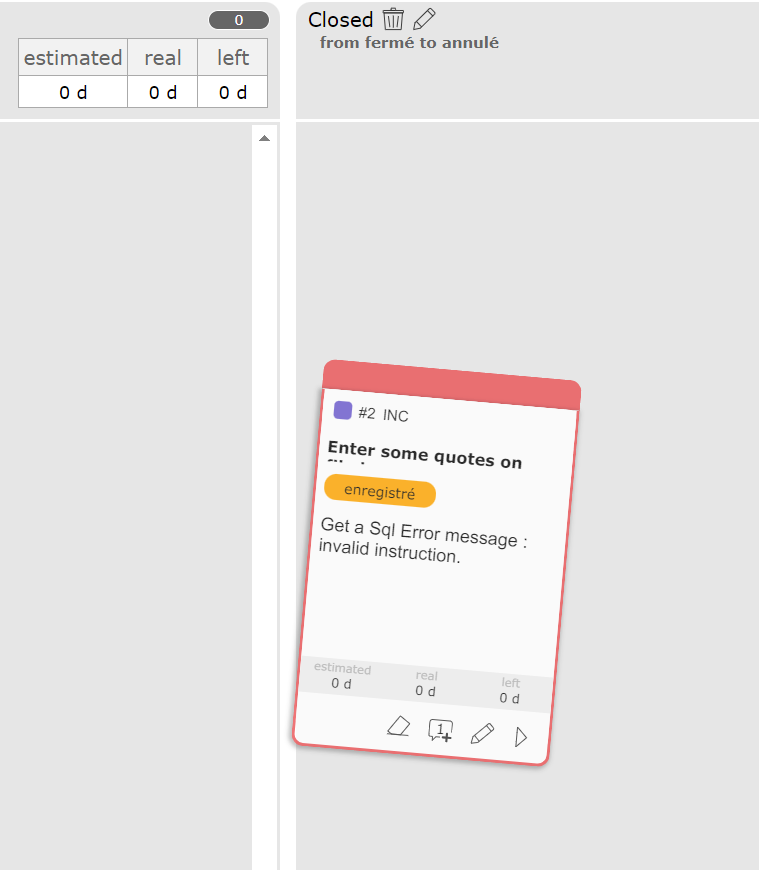
The heading of the moved element then changes to green when it is on a column where the movement is allowed and is red when it is on a column where the movement is prohibited.
If the Kanban is arranged as statuses, the new status after move, will be the first status of the range defined for the column.
For Kanbans based on the target product version and planning activities, the new field value will simply be the target.
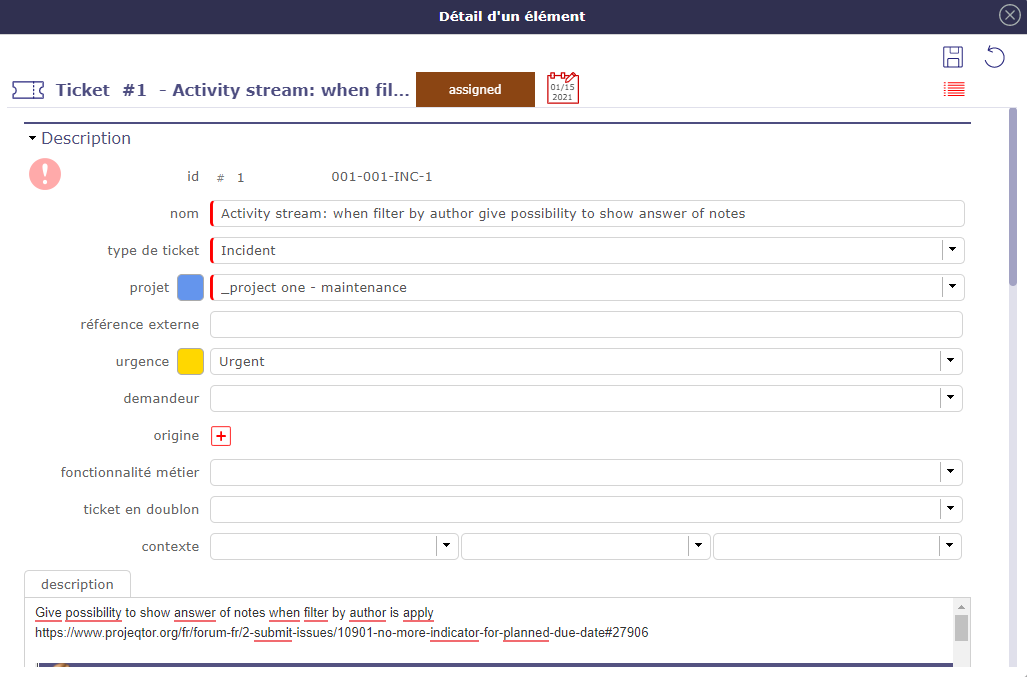
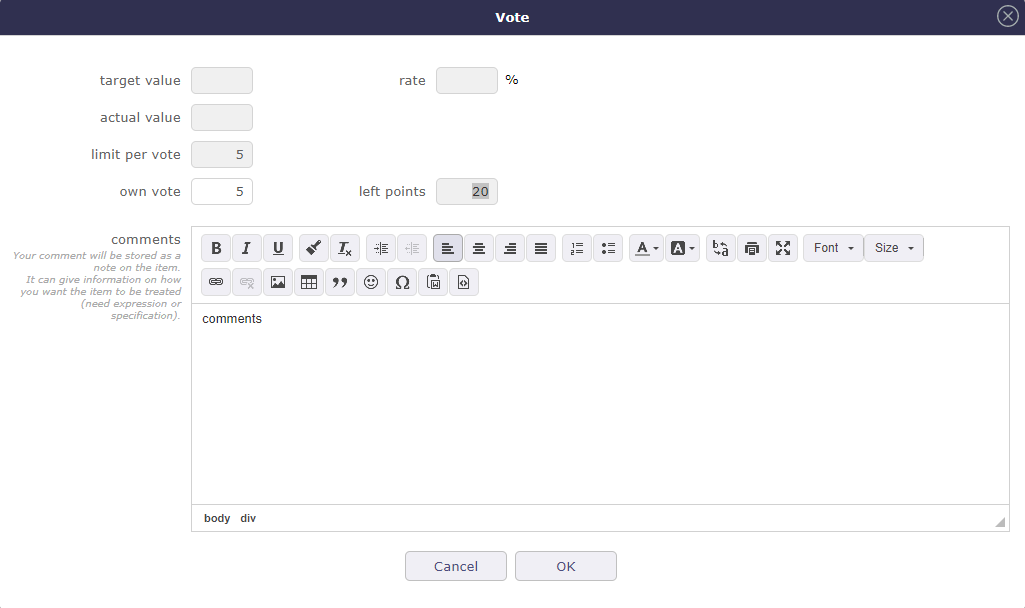
Depending on the configuration of the ticket type, some state changes may require the definition of new fields.
For example, in the default configuration, when changing to the “assigned” state, “responsible” is required, and when transitioning to the “terminated” state, “result” is required “.
In this case, when you move a ticket in the Kanban columns, a pop-up window appears to allow you to enter the missing value if it is not already defined.
If the voting settings and your rights allow you to vote on an element, then the vote button will be clickable and you will be able to vote directly on the element from the Kanban screen.
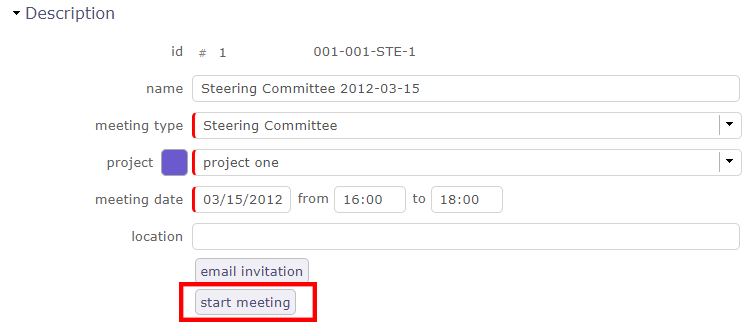
Click on to start the meeting and to start decrementing the speaking time
Click on To stop the meeting and therefore close the LiveMeeting window to return to the current meeting screen
Click on to pause the speaker’s time
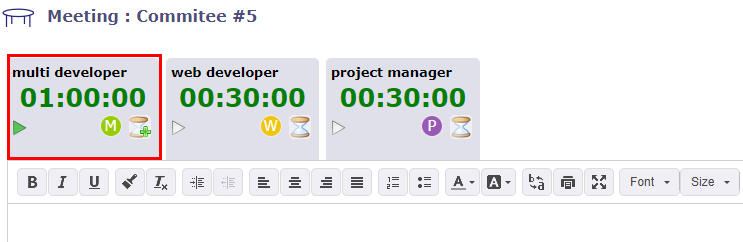
Set the organizer
Before starting the meeting, you can define an organizer who will need additional speaking time to be able to lead the meeting.
To designate it, click twice on the hourglass to obtain the symbol on the icon.
The organizer is designated, and sees his time increment double by taking equitable time on the other participants.
The designated organizer has a PLus on the hourglass icon of his tab
Note that only one participant can be defined as an organizer.
To set another participant as an organizer, you must first redefine the current organizer as a normal participant by clicking the hourglass button again.
Speaking Time
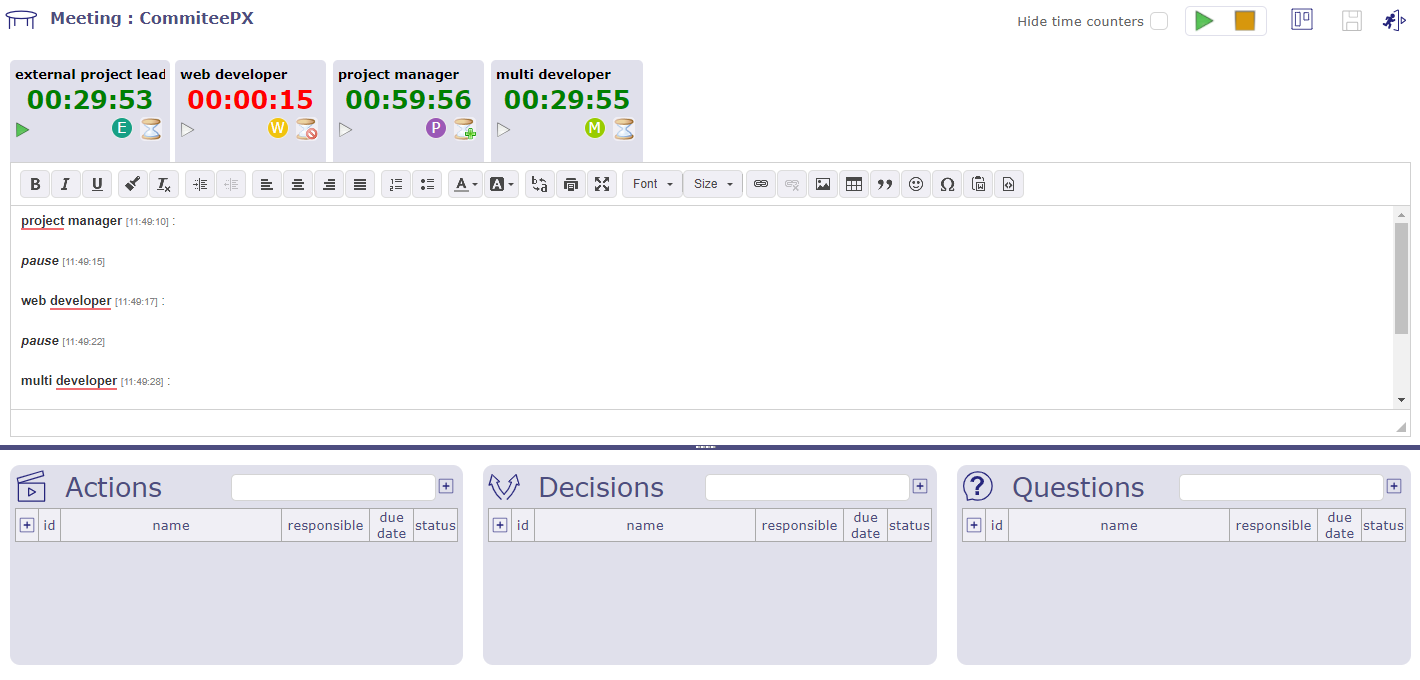
If you started the meeting by clicking on the Play icon at the top right of the screen, then this is the first speaker displayed, the one with the green sign that will begin speaking.
Otherwise, click on the speaker’s tab of your choice to start your speaking time.
Click on to prevent a speaker from speaking
Click on to give him the floor again
If you prevent a speaker’s speaking time by clicking on the hourglass, then the remaining speaking time of the speaker will be redistributed to the other participants entitled to speak.
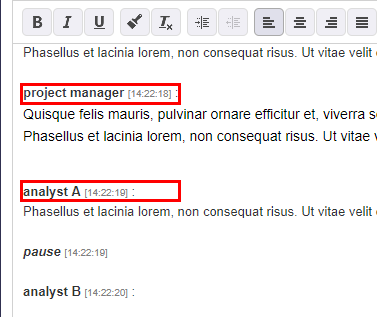
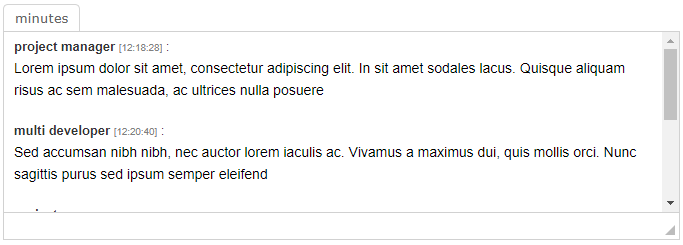
Write a meeting report
During the course of the meeting, the person in charge of the report can inform and report the words of the various participants.
The text editor is dynamic and reacts to speakers who have the floor.
When one speaker is finished and another speaker speaks, a field is added in the text editor with the name of the speaker with the detail of the time
The pause is also mentioned always with the detail of the time.
Each list acts as the standard “linked element” element present on almost every element screen.
You can then list an item to add it to the list of related items, but also create a new item to add to the list, just like for the Linked Items feature.
All linked items through this feature will appear in linked items in the meeting.
There is a slight difference with related items, when you click on the name of an item, you are not redirected to it.
It simply opens in a pop-up form, allowing you to update it without leaving the LiveMeeting screen.
New element
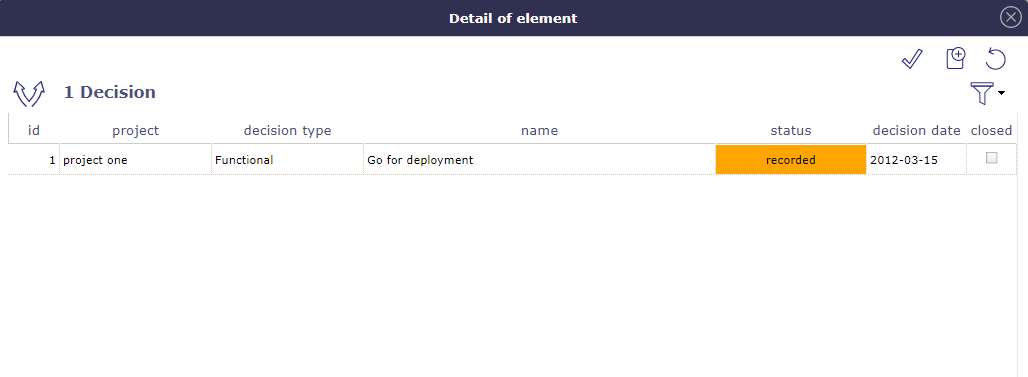
You can create, edit, or delete an action, decision, or question from the live meeting screen.
Click on at the top right of each section to add a new element
A pop up opens and allows you to create and edit the selected element.
Planning Poker, also known as Scrum Poker, is a consensus-based gamified estimation technique primarily used to estimate the relative effort or size of development goals. (wikipedia)
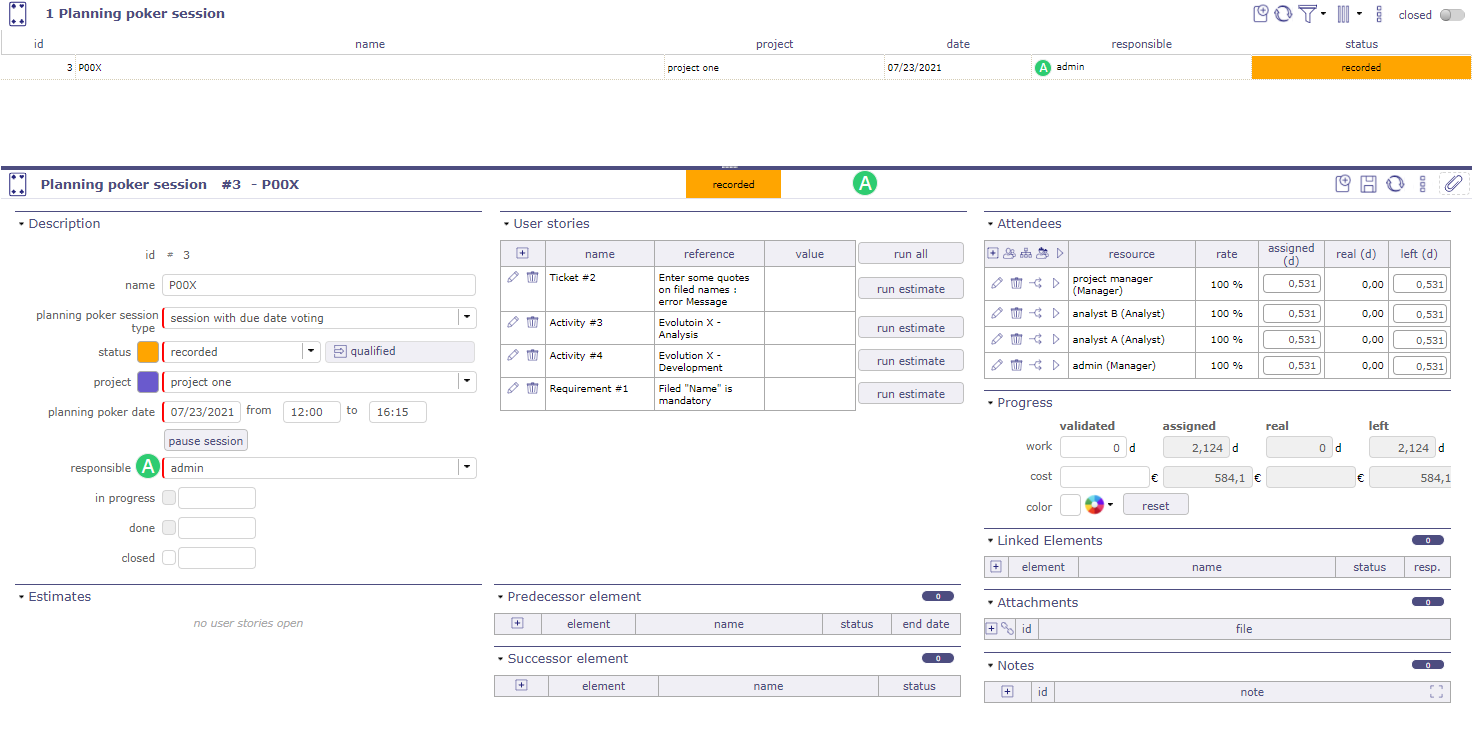
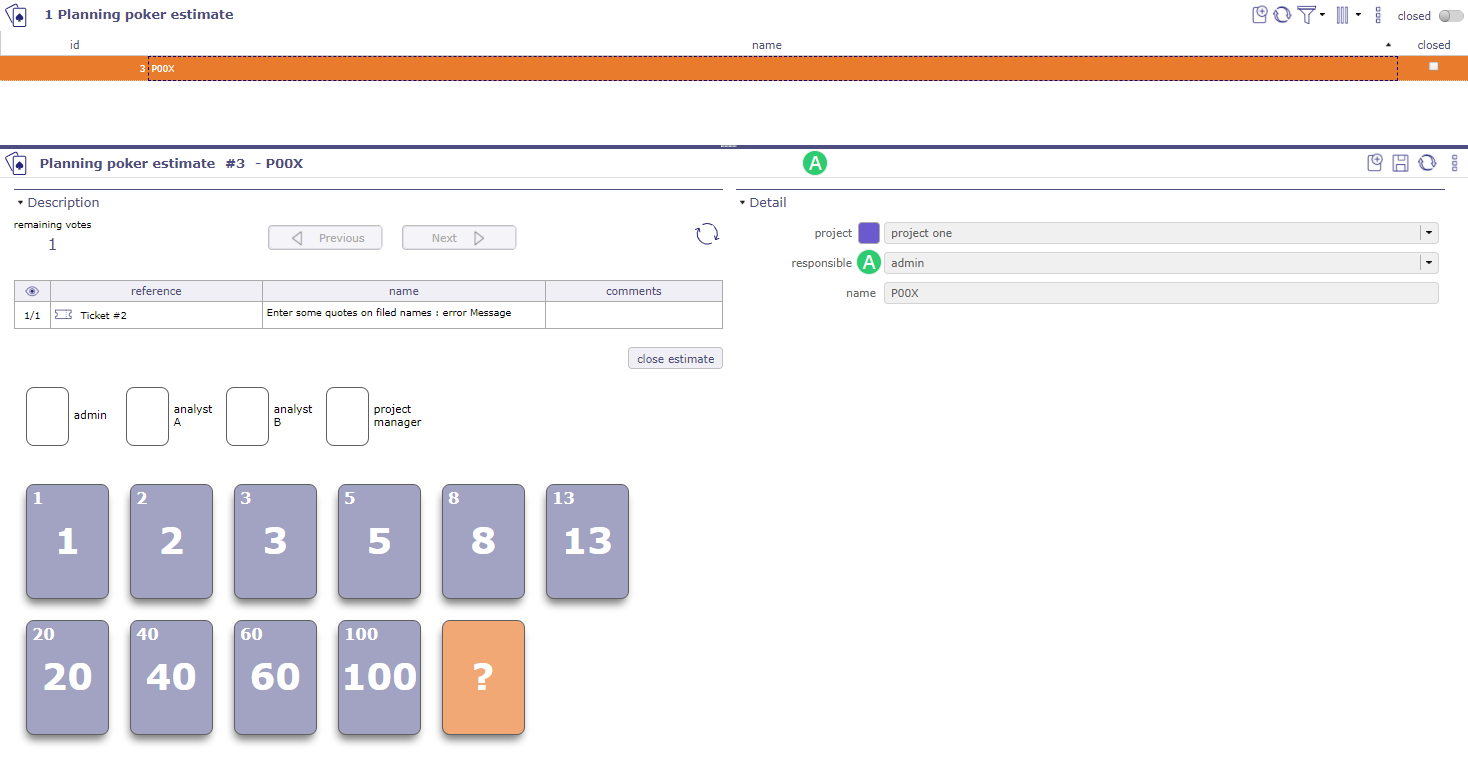
Projeqtor integrates planning poker into its functionalities. You will be able to plan a planning poker session as a meeting and see it appear on the Gantt chart.
You define the project to which the session is linked, the user story (s) as well as the voters.
The User Story represents an Agile practice, used above all in Scrum, to “capture” the needs of the users by expressing in a general and not detailed way, the characteristics, the functions and the requirements of the product to be created.
In ProjeQtOr, a user story can be a ticket, an activity or a requirement.
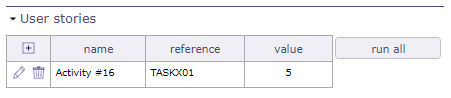
A session can contain several user stories, there is no limit.
Each of these user stories can be started individually, in part or in full.
Attendees
Participants can be resources, contacts, or users.
Participants are assigned as on an activity, with a function linked to a cost.
You can assign a load manually but if you have entered a time slot then the load is automatically calculated.
Pause and stop session
You can pause the session. This will remove user stories from the planning poker estimates screen without actually closing or stopping the session.
Stop the session, will change the status of the latter to “done”.
User stories will still be visible on the estimates planning poker screen but you will no longer be able to vote.
Change the status to in progress so that the pause and closed buttons are visible again.
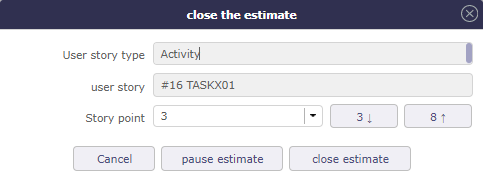
Closed a poker session
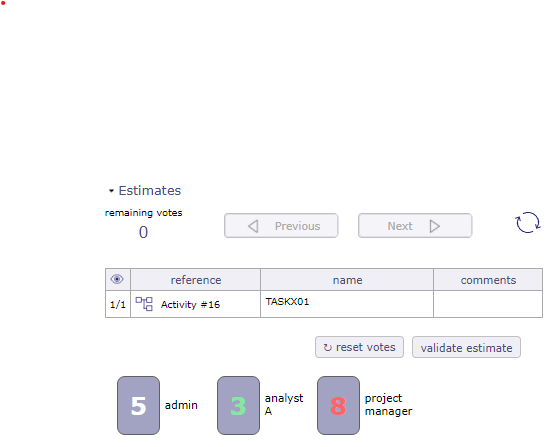
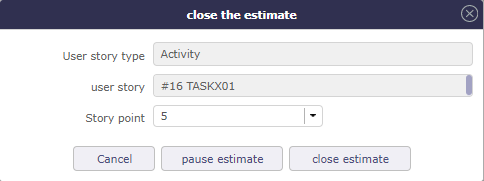
When all the votes are recorded, you have two options :
Close the vote
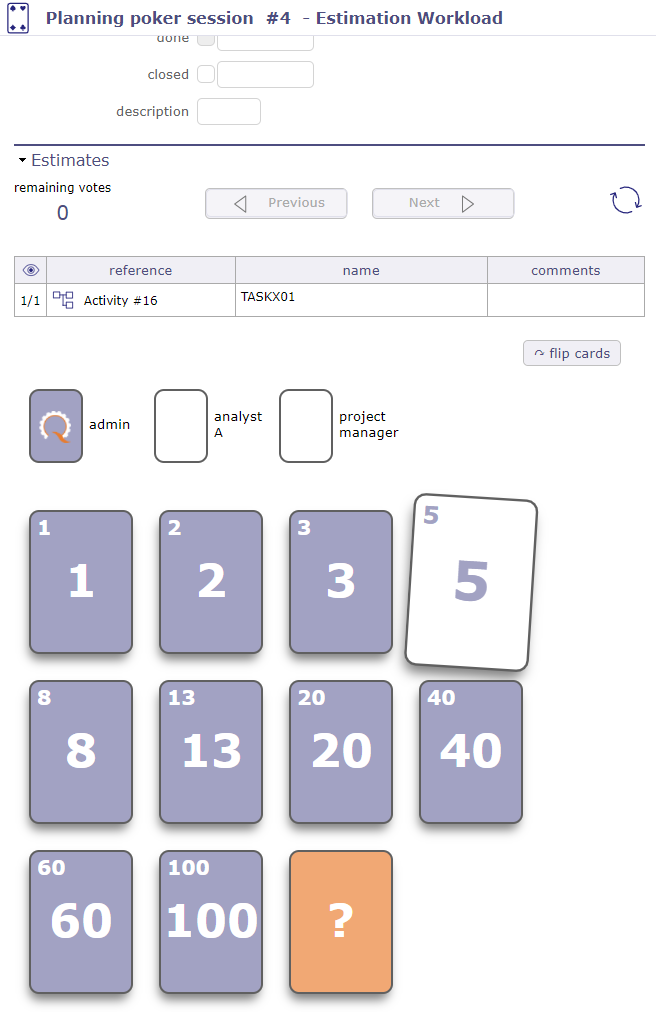
Turn the cards over
When you turn over the cards, the vote is indicated on each participant’s card.
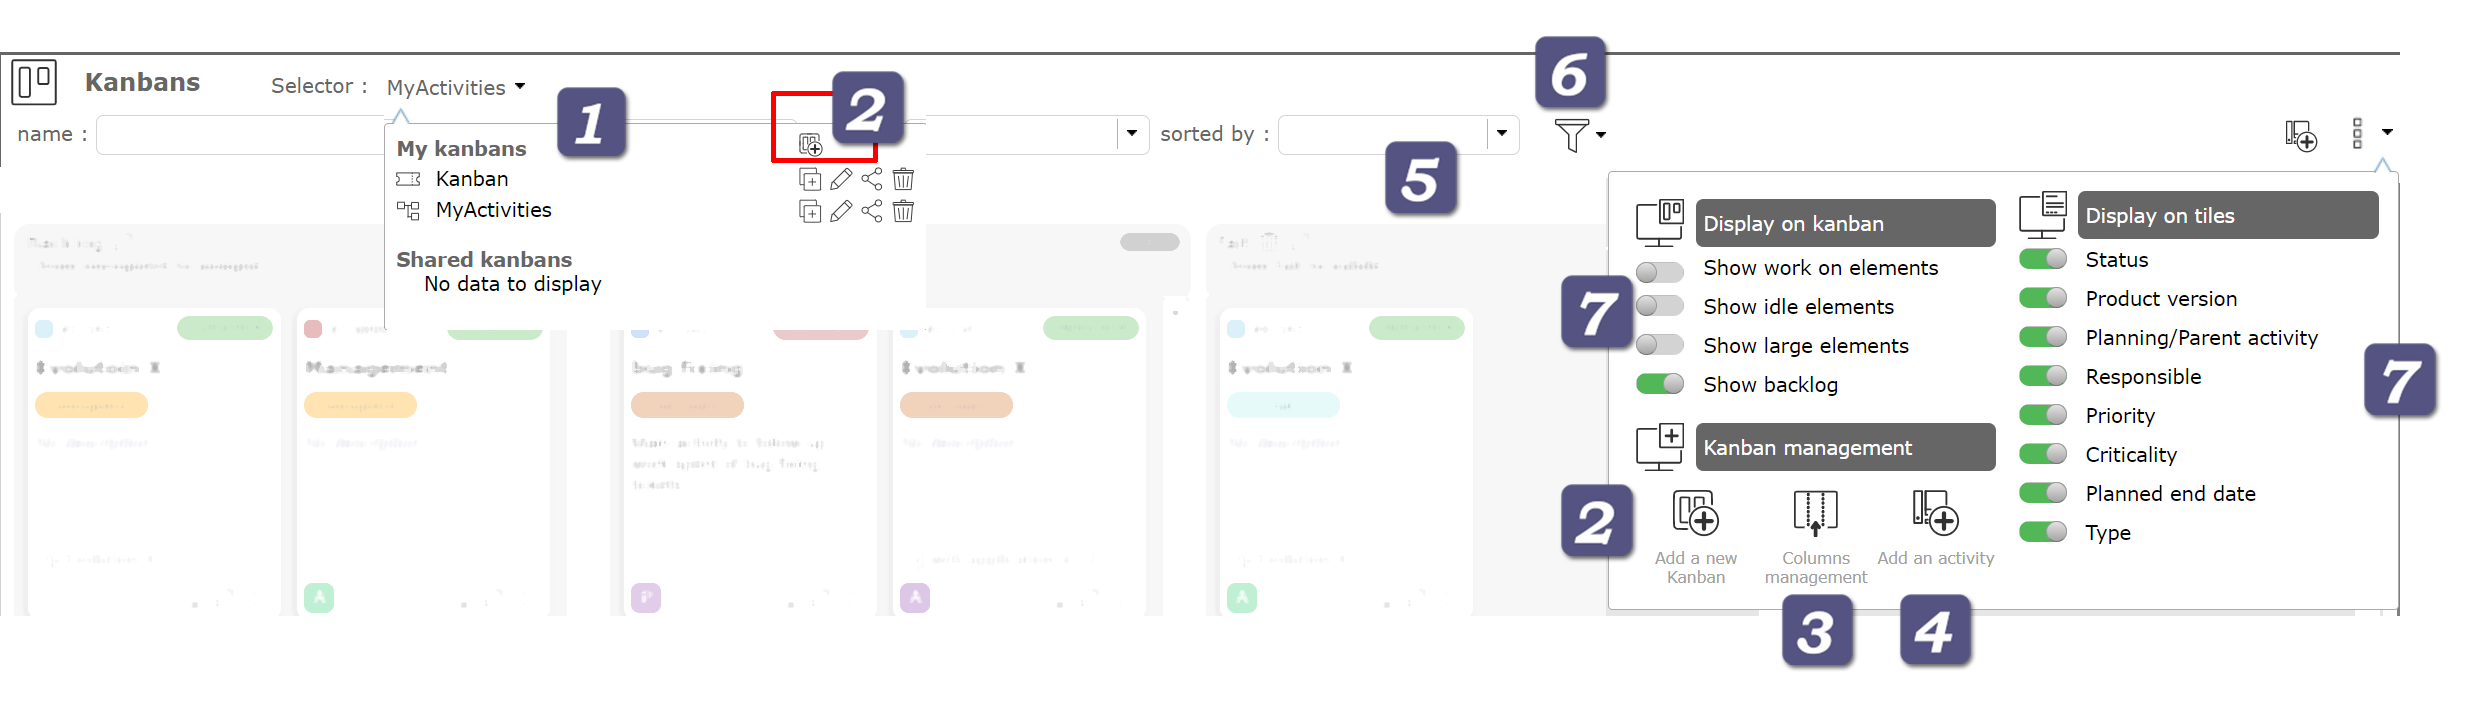
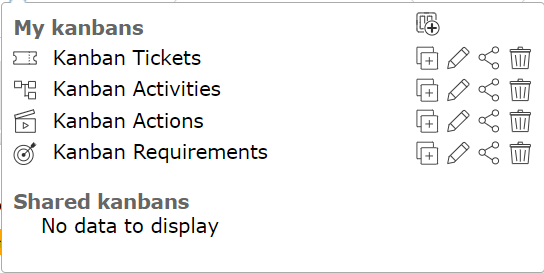
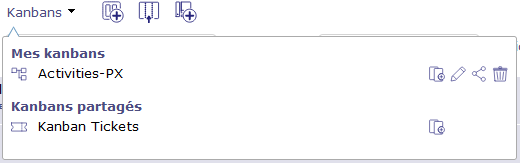
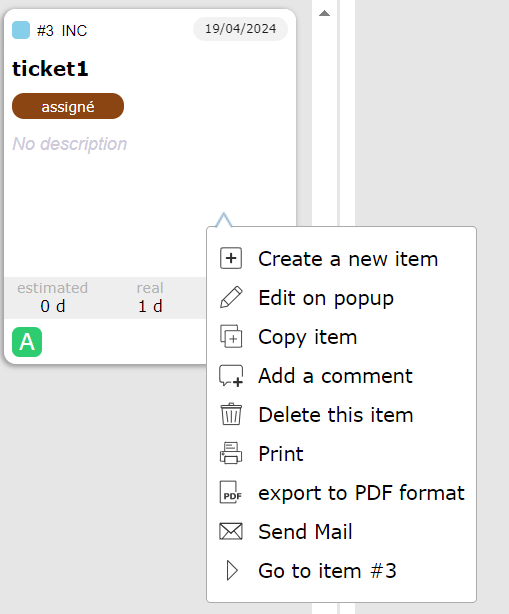
 to create a new kanban
 to copy this kanban
 to edit this kanban
 to share this kanban. The icon is fill
  when it is already shared.
 to delete this kanban
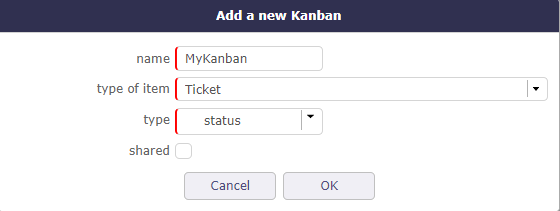
 to create a new Column


 to add a new ticket into the Kanban Board or
 to add a new action into the Kanban Board or
 to add a new activity into the Kanban Board or
 to add a new action into the Kanban Board
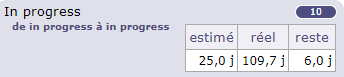

to save your changes
 to exit the LiveMeeting screen
 to manage your kanbans since the livemeeting
 to display the QUestions / Actions and Decisions
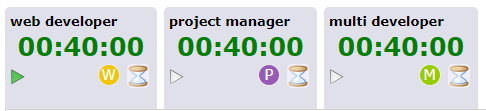
 to start the meeting and to start decrementing the speaking time
 To stop the meeting and therefore close the LiveMeeting window to return to the current meeting screen
 to pause the speaker’s time
to obtain the symbol
on the icon.
to prevent a speaker from speaking

at the top right of each section to add a new element
to select an item into the list by
to create an item
to undo the current manipulating and close the window
click on filter to restrict display

 to refresh your screen and the votes